Pollinator gardens are a lovely way to add interest and purpose to your landscape. Not only do they provide gorgeous blooms throughout the year they are a safe haven for all your favorite pollinators.
Pollinators provide a crucial service in the ecosystem; through pollination they make it possible for our food and flowers to grow. They serve about 180,000 different plant and more than 1,200 crops. Global warming is affecting our pollinators daily with the loss of habitat, pollution, disease, and fragmentation. No matter how much space you can spare, even a few pots planted with pollinator-friendly plants can make a huge difference.
Now that you’re convinced to create a pollinator garden here are some steps to get started. Before planning and planting, you will want to do a site analysis.
Here are some important things to consider:
- How much sun does your site receive?
- What type of sun? Morning, Midday, Afternoon?
- Soil Testing
- Soil Moisture Levels
- Wind Exposure
- Wildlife
- Aesthetic considerations
Full sun is considered 6 or more hours of sunlight a day. Partial sun is 3-6 hours of sun and shade is less than 3 hours. Timing of your sun exposure is important as well, if you get a lot of midday sun it will be much stronger than your morning and evening sun. Draw your findings down on a map to organize your areas for full sun, partial, etc.…
![]()
Next test your soil to find out its composition, it’s important to know if you have lots of clay or sand it will affect lots of things down the road. Your soil test will also tell you if any nutrients need to be added. Keep in mind you want to avoid any non-organic materials in your pollinator garden so if any soil amending is required stick to your organic’s compounds like compost and mulch. You can take soil samples into your local Ag extension or purchase a small kit online.
Now that you understand your site it’s time to start researching what kind of plants will work well within it. Online you can easily find plant pallets created for pollinator gardens, visit the nursery and we can help direct you to the best plants for your area. Another great resource is your counties master gardener’s website, they often have planting calendars and pallets specific to your microclimate.
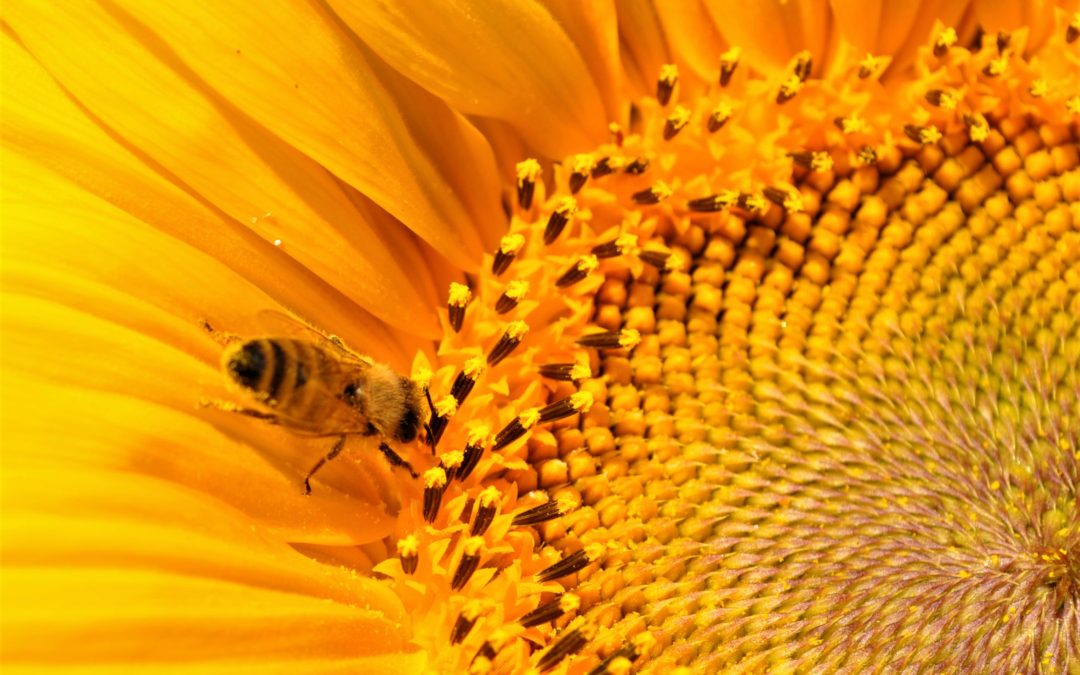
Each flower will attract a different kind of insect depending on its shape and color. Try to stay away from hybrid flowers as they have been adapted for their appearance and do not provide enough nectar.
![]()
Flower types:
- Open bowl-shaped flowers like poppies, rockroses, and wild roses can be utilized by a plethora of insects because of their easy access.
- Lipped flowers like your sages and in the pea family (Fabaceae) are perfect for bees as they have a landing pad for a bee to rest before entering the flower.
- Tiny flowers that are clustered together like goldenrod, angelica, oregano and carrot appeal to hoverflies, small beetles and bees.
When choosing your plants try to stick to mostly natives but it is ok to mix in a few non-natives if they provide multiple purposes for the pollinators. Your goal is to provide shelter and blooms throughout the year and stages of their life cycle. For example, the Monarch butterfly needs milkweed to eat during its caterpillar stage, a safe shrub to pupate in and a plethora of different flowers for feeding on nectar when a butterfly. Mixing of flowering plant and plants for protection are very important in your garden. A proper pollinator garden will attract a wide range of pollinators such as birds, bats, butterflies, flies, beetles, wasps, small mammals, and bees.
Now that your research is done, draw out a plan for your garden and start to prep your site. Make sure to include either a wet area or shallow bird bath for the butterflies and other pollinators. Once your garden is planted make sure to water frequently during the first few weeks until the plants are established. If you have a smaller garden try to hand water so that you can keep a closer eye on your plants and snag any weeds that might pop up.
Caring for a pollinator garden is fairly simple. Stick to hand pulling your weeds and remember to avoid all chemicals they will harm your pollinator friends. Come fall leave your seed heads for overwintering birds and insects to munch on. Before cutting them back in spring make sure to shake the seed heads above the ground to aid in reseeding. After cutting them back in early spring add a fresh layer of compost and mulch. Add in a few logs and leave some of the branches that fall for the bugs to burrow into. Keep in mind you are trying to imitate a natural space, so welcome some of the wild beauty!
Now you can sit back and enjoy the pollinator garden you’ve created. Observing the insects and birds feeding in your garden will bring you immense joy knowing that you created this sanctuary for them!